The Nomadic Content Blueprint
How to edit stunning videos on the road – without losing your mind (or your footage)
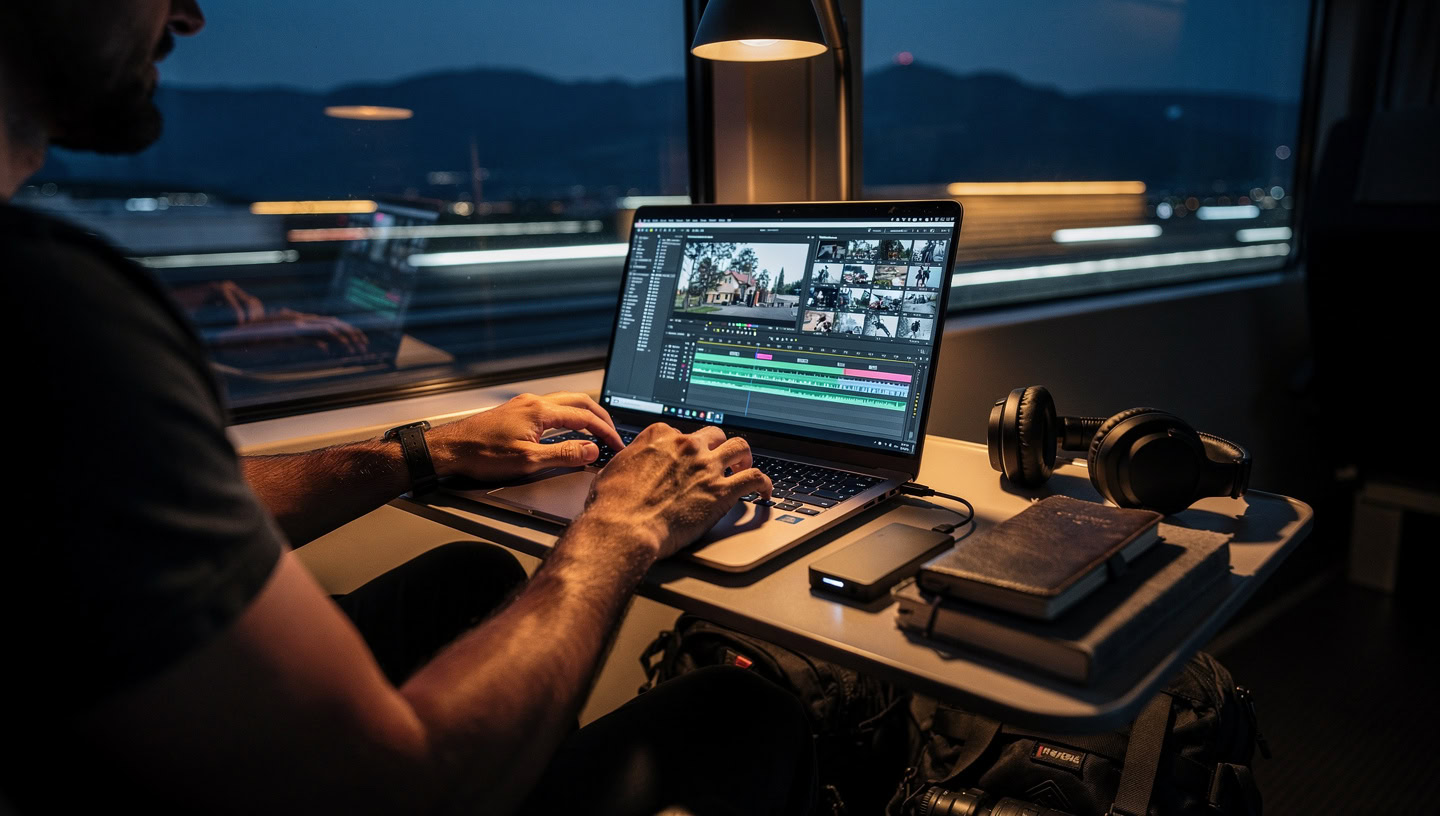
You’re in a café somewhere between departure and arrival.
A surf town in Portugal, a side street in Bangkok, a mountain village with one working router. Your backpack is under the chair, your laptop is open, and your SD card is full of sunsets, street noise and half-whispered conversations you don’t want to forget.
You didn’t become a digital nomad to spend your days watching progress bars.
But here you are:
- external drives on the table
- fans spinning at jet-engine level
- Wi-Fi that collapses the moment you hit “upload”
For a lot of travel filmmakers and remote creators the pattern is the same: shooting feels like pure freedom – editing feels like a bottleneck.
The good news: editing on the road is not the problem.
A missing system is.
This is the Nomadic Content Blueprint I use at Nomadic Filmworks: a practical way to set up your gear, files and workflow so you can cut cinematic videos from almost anywhere – without needing a studio, a monster desktop, or perfect internet.
What this blueprint will help you build
- A travel-ready editing setup that fits in a backpack.
- A clear folder structure that survives border crossings and time zones.
- A proxy-based workflow that makes 4K feel like HD on a laptop.
- A realistic editing routine that works with bad Wi-Fi and moving days.
Myth-busting: what you don’t need to edit videos on the road
Before we build the blueprint, let’s clear out a few persistent myths about digital-nomad video editing.
Myth 1: “You need a big desktop to edit professionally”
Desktops still win for raw power and long, stacked 4K/8K timelines. But modern creator laptops (MacBook Pro, Dell XPS, Asus ProArt, etc.) can handle 4K editing smoothly if they’re specced properly – typically with a recent CPU, at least 16 GB of RAM and fast SSD storage.
For a digital nomad, the trade-off is simple:
- Desktop: more performance, less mobility.
- Laptop: enough performance, maximum freedom.
You chose the second life. Your workflow just needs to respect that.
Myth 2: “Editing on the road is always slow and painful”
It’s slow when:
- your files are chaos
- you edit full-res 4K on a weak machine
- you re-export three times because you guessed the export settings
With proxies (lighter working copies of your footage), a clean folder structure and sane export presets, you can often cut faster on a laptop than some people do on a workstation. Proxy workflows are a standard way to make 4K editing smooth on modest hardware: you edit low-res versions and still export in full quality.
Myth 3: “Constant travel makes serious editing impossible”
Not if you treat editing as part of your nomadic routine instead of a random afterthought.
The real issue isn’t movement. It’s trying to:
- dump footage at 2 a.m. after a 14-hour travel day
- start edits with zero structure
- fight hotel Wi-Fi for a 4 GB upload
We’ll fix that.
Step 1 – Build a travel-ready editing setup
You don’t need half a post-production studio in your suitcase. You need one reliable chain.
a) Your laptop: a small studio in a backpack
Look for:
- at least 16 GB of RAM (32 GB if you cut 4K regularly)
- a fast NVMe SSD inside (for OS, apps, active projects)
- USB-C / Thunderbolt 3 or 4 ports
- a decent screen (good brightness and reasonable colour; an external monitor is optional)
High-end creator laptops and some “business” machines are built exactly for this mix of mobility and editing performance.
b) Storage: three layers, not ten drives
Keep it simple:
- Internal SSD – OS, editing software, current project files.
- Fast external SSD (USB-C/Thunderbolt) – media + scratch disk for active projects.
- Large, slower external drive or encrypted cloud storage – archive and backups.
This pattern (fast SSDs for current work, big storage for history) is a proven best practice for editors on the go.
c) Data safety on the road
Beautiful footage is worthless if it disappears with a stolen backpack.
A few nomad-proof basics:
- Keep at least two copies of your material in two different physical locations – e.g. SSD in your backpack, HDD in your suitcase/locker.
- Encrypt your drives (FileVault, BitLocker, VeraCrypt, etc.) – especially if they contain client data.
- Use cloud backups intentionally when you have solid Wi-Fi (coworking space rather than hostel Wi-Fi).
- Only format cards when you’re sure two backups exist.
Data safety is not just a tech topic – it’s a trust signal that you take your work and your clients seriously.
d) Headphones and sound
You don’t control acoustics on the road. Good closed-back headphones give you:
- a reasonably consistent reference
- isolation from espresso machines, mopeds and hostel kitchens
- the option to do sound design at night without annoying anyone
Step 2 – File organisation: your future self will thank you
Most “editing pain” is actually search pain.
Before you open DaVinci, Premiere or Final Cut, give your material a clear home.
A simple structure:
Project_Name/01_RAW/Camera_AProject_Name/01_RAW/Camera_BProject_Name/02_AUDIO(music, SFX, VO)Project_Name/03_GFX(titles, overlays, logos)Project_Name/04_PROJECT(NLE project files)Project_Name/05_EXPORTS
Within 01_RAW, you can separate by date or location:
2025-12-05_Portugal_SurfTown, 2025-12-06_Lisbon_City.
Goal: when you open your laptop in a new city, you instantly know where everything is – even if the footage is three countries old.
Step 3 – Choose software that travels well with you
Good news: the usual suspects all work for digital nomads.
- DaVinci Resolve – very strong free version, great for colour, proxy-friendly.
- Adobe Premiere Pro – deep integration with the Adobe suite, many templates.
- Final Cut Pro (macOS) – extremely fast on Apple silicon, efficient for solo workflows.
All three support proxy workflows and common codecs. Cloud review tools like Frame.io can sit on top if you collaborate with teams or clients while you’re moving.
More important than the “perfect” program is this: pick one and really learn it. Tool-switching costs you more time than any RAM upgrade will save.
Step 4 – Proxies are your best friend (especially on the road)
4K log footage + mid-range laptop + lots of effects = frustration.
That’s why proxies exist.
In short:
- Your software generates light, low-res copies of your original clips (proxies).
- You edit with these proxies – smooth playback, less stutter.
- On export, the NLE automatically switches back to the full-res originals.
For 4K projects, proxies are a standard workflow so even modest machines can run smoothly. On a nomadic setup, proxies give you:
- a quieter, cooler laptop
- less battery stress
- more focus on story instead of progress bars
Set up a good proxy preset once – after that it’s a fixed part of your Nomadic Content Blueprint.
Step 5 – A travel-proof video editing workflow (from SD card to upload)
Here’s a sequence you can repeat in hostels, cafés and airport lounges.
1. Offload and backup
As soon as you’re somewhere reasonably stable:
- Copy card → external SSD (
01_RAW). - Optional: mirror backup to a larger HDD or the cloud once you have solid Wi-Fi.
- Only format cards when you have two independent copies of the footage.
This is the unsexy part – but it decides whether your story survives the trip.
2. Generate proxies
- Import footage into your NLE.
- Activate your proxy preset (e.g. 1080p or 720p, lightweight codec).
- Let the laptop crunch while you eat, sleep or scout the area.
Once proxies are ready, 4K material feels like HD.
3. Build your rough cut first
Don’t start with colour or effects.
- Lay down the backbone: hook/intro → core scenes → ending.
- Check if the story works without music or effects.
- Cut anything that doesn’t serve story or pace.
Your timeline should already “work” now – just not be pretty yet.
4. Add sound and music
On the road, a lot of content stumbles on sound.
- Clean dialogue with basic noise reduction and EQ.
- Layer real ambience (street, sea, market) underneath.
- Only then pick music that supports the emotion instead of crushing it.
Better a simple, honest sound world than five over-loud “epic” tracks stacked on top of each other.
5. Colour and finishing
Once story and sound are in place:
- Align white balance and exposure so scenes feel like they belong together.
- Apply a base look (LUT or manual grade) that fits your style.
- Add titles, lower thirds and a small set of consistent transitions – not every preset you’ve ever downloaded.
On a nomad setup, grades need to be efficient. “Cinematic” comes from consistency, not ten nodes per clip.
6. Export with travel-friendly settings
For most platforms, H.264 is a solid standard.
For 1080p uploads, a bitrate around 10–12 Mbps is a good starting point: solid quality with manageable file size so café Wi-Fi doesn’t completely collapse. For 4K exports, many YouTube recommendations sit roughly in the 35–45 Mbps range.
The goal: small enough to upload, big enough that platform recompression doesn’t destroy your image.
Step 6 – Power, heat and real-world constraints
Specs are one thing – life on the road is another.
A few things that massively affect your productivity:
- Use your battery intentionally: heavy tasks like proxy generation and exports when you’re safely on mains power (accommodation, coworking), not on the night bus.
- Avoid heat: don’t run your laptop in direct sun or on a bed with the fans blocked. Thermal throttling kills performance.
- Have a power backup: a small power bank that can at least keep your laptop alive can save a cut at the wrong moment.
The best workflow won’t help if your machine is in oven mode or blinking at 5% battery.
Step 7 – Productivity: edit like a nomad, not like a studio
Editing on the road is less about “a studio in a backpack” and more about protecting your attention.
a) Time-box your edits
Instead of “I’ll edit whenever I have time”:
- 60–90 minute focused blocks.
- one clear goal per block (rough cut, sound pass, colour, exports).
- no social media during that time.
You’ll be surprised how much happens in a focused session before the café noise really starts.
b) Batch what the internet will ruin
Slow or unstable Wi-Fi is part of the deal.
Use it tactically:
- Plan exports and big uploads for nights or very early mornings.
- Queue multiple uploads and let the laptop run.
- Only kick off cloud backups where the connection can handle it (coworking, not “free Wi-Fi” with 200 guests).
c) Build your own “nomadic toolkit”
Over time, your personal toolkit emerges:
- title templates in your own style
- lower-third presets
- a standard project file with bins, tracks and basic settings
- export presets for YouTube, Instagram and client delivery
Every template is one less decision you have to make after a 10-hour travel day.
Step 8 – A sample “Nomadic Edit Day”
To make it more concrete, here’s what a possible day in your future workflow might look like:
-
07:30–09:00 – Morning block in a café
Offload cards, place media into your folder structure. Start proxy generation, first viewing, basic selects and markers. -
10:30–12:00 – Coworking space or quiet spot
Build the rough cut for the main video. Set the story spine and emotional peaks. -
Afternoon – on the move
Light B-roll shooting, notes for the next episode – deliberately no editing. -
19:00–20:30 – Evening block
Sound design, base grade, titles. Start exports. -
Night
Let uploads and cloud backups run while you sleep.
Not every day will look like this – but you see the pattern: clear blocks, a system, not chaos.
Step 9 – Typical roadblocks (and how to sidestep them)
Even with a blueprint, reality will test your setup. A few common issues:
Laptop too slow?
Use proxies. Reduce effects while you work; apply full looks at the end. Close other apps, and edit in shorter, more frequent sessions so the machine doesn’t run hot for hours.
Running out of space?
Stick to the three-layer strategy: current projects on internal + external SSDs, finished projects archived regularly to a big HDD or the cloud. Don’t try to carry half a continent of raw footage on a single 512 GB SSD.
Editing feels like it takes forever?
Track one or two projects: where are your hours going? Often searching, re-organising and re-exporting eat more time than creative cutting. Fix structure and presets first, then think about new hardware.
Burnout creeping in?
You don’t have to vlog every single day. Choose your stories consciously. Some days are just for breathing – and that makes your next videos better.
The real blueprint: less friction, more story
In the end, the Nomadic Content Blueprint isn’t a rigid rulebook – it’s a frame:
- a laptop that’s good enough – and light enough
- a clear folder structure you’ll still understand in six months
- proxies that make 4K feel like HD on a laptop
- a workflow that survives hostels, bus rides and bad Wi-Fi
- and a routine that leaves space for the reason you left home in the first place: to live, not just to “produce content”
You don’t have to start with the perfect setup.
You can sharpen this system one trip, one project, one timeline at a time.
If you want to build your own nomadic editing setup – or if your current workflow feels more like an improvised patchwork – this is exactly the kind of system work Nomadic Filmworks can help with:
- organising your media flows
- setting up a realistic on-the-road pipeline
- and shaping your videos so they don’t just look good, they feel like something
The road is unpredictable.
Your workflow doesn’t have to be.